I'm sure it happens with most crafters....you think of an idea and get very excited about it....but when you are half way through,things happen and you don't get the result you had envisioned....at this moment you make a decision either to scrap or salvage....and considering how very costly craft supplies are(in Australia at least),I'm sure most crafters in this situation try their very best to salvage the project....
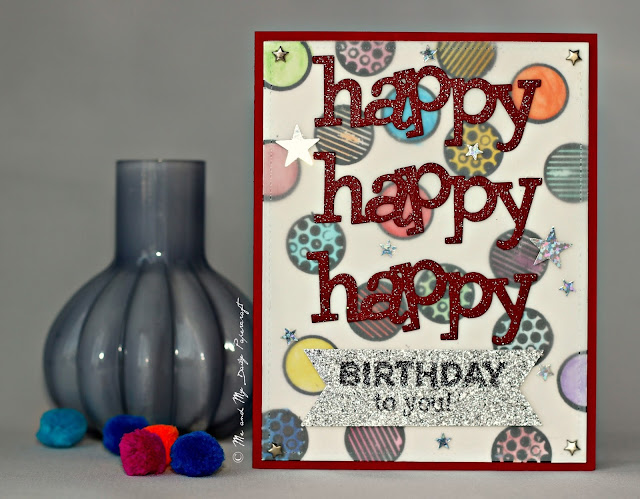
So here's how this card went.....I started with a red card base and a white top layer....on the top layer I stamped a few different patterned circle images with versamark ink and heat embossed them using black embossing powder....I noticed that some circles did not emboss properly but it wasn't a big deal so I carried on and used watercolours to colour in the all the circles....the result wasn't that great...maybe I should've used a single colour...anyways,I decided to carry on and not scrap it...
So I die cut a Vellum sheet using stitched rectangle die same size as the top layer and adhere it using brads on all four corners....I then die cut the happy word 3 times using red glitter cardstock and adhere them to the vellum...then I cut a silver banner and stamped the words 'Birthday to you!' on it and adhered it below the happy words...Finally I added a few silver star sequins and my card was complete....
What do you think about this card??Do you like how it turned out in the end??Let me know...
P
Labels: black heat embossing powder, Handmade card, Happy word die, Peerless Watercolors, Sentiment Stamp, Silver cardstock, Silver star sequins, Small Circle Stamps, Star brads, Stitched Rectangle Dies, Vellum Paper
